Drop Spinning Tutorial
This post is dedicated to Heidi as she was my drop spinning teacher and held a very informative class at London-Wul Farm. I highly recommend learning to drop spin with someone familiar with the skill because it will be much more enjoyable and easier to pick up.
When I got home after my class I continued spinning and filled the spindle. I was a little unsure the first time what I was then to do with this spun yarn. Here are the steps that I discovered:
- First start with a peaceful room
- Then add fiber
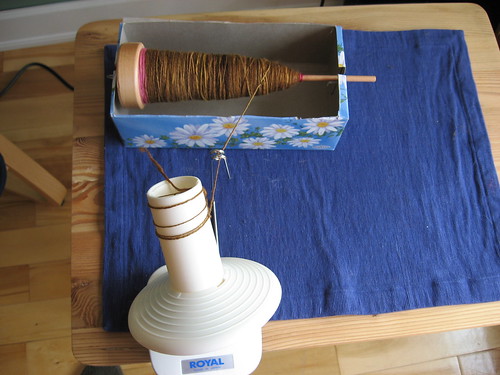
- Once the Spindle is full, make a center pull ball with a ball winder perferably
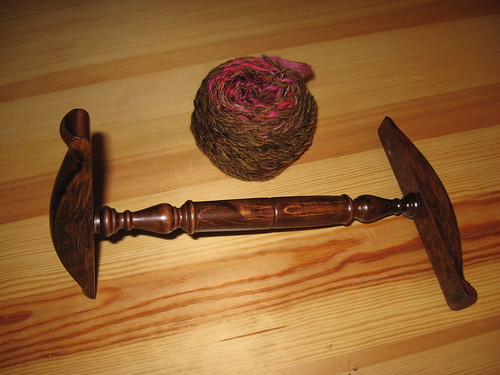
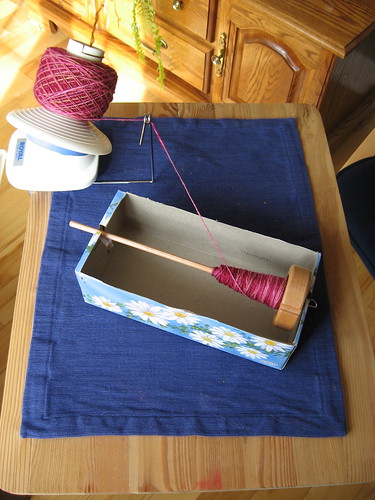
- Now it's time to ply. Simply take the center pull from the ball along with the outside piece of yarn from the ball and tie them to the spindle. Then just spin them together but make sure to spin the spindle in the opposite direction from the one you used when spinning the yarn originally.

The single plies will be all twisty, but plying them should balance the twists out.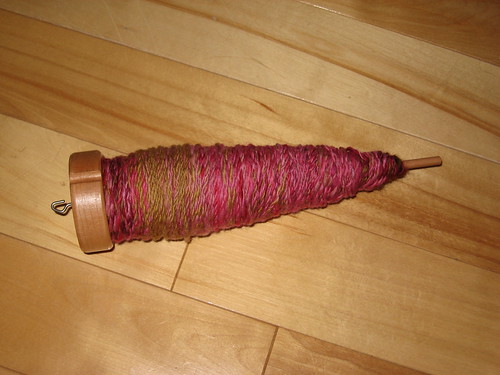
The spindle became very full and hard to work with, but I made it fit. - Next make a skein using a Niddy Noddy. I didn't get a picture because the yarn started to fall off the Niddy Noddy because it was a little full so you will have to use your imagination. If you don't have a niddy noddy I believe you can use a hanger as well.
Don't forget to tie the skein together in 2-4 places before removing from the niddy noddy. - Give your skein a bath.
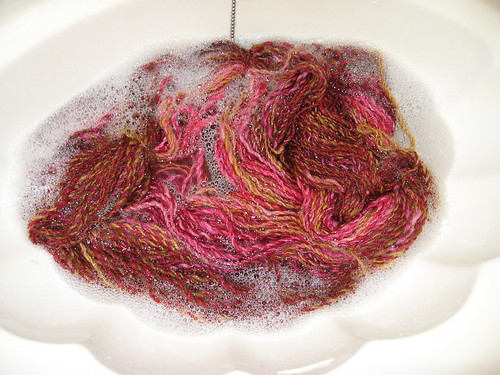
Really it's just a soak. I used Eculan so I didn't have to rinse the yarn but you can also use another mild soap but make sure to rinse it in that case. - Hang to dry with a weight to help the spin and ply settle.
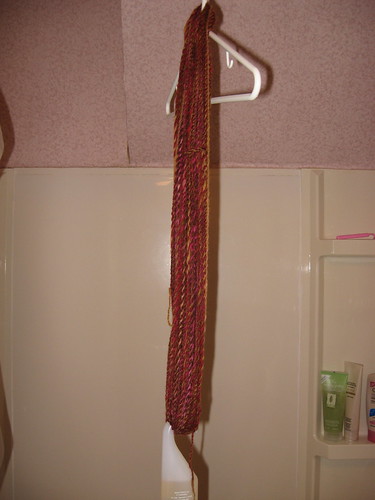
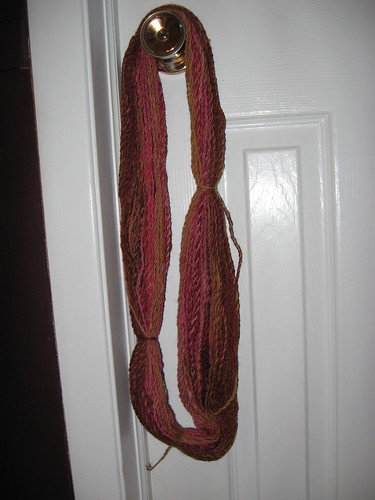
I just used a shower gel as the weight because of the hanger on the end of the bottle but you can find various items around the house that will work. You just want something to straighten the yarn as it dries to help settle the plies. (Please ignore my hideous wall paper, bathroom is under renovation as we speak) - Ta Da!
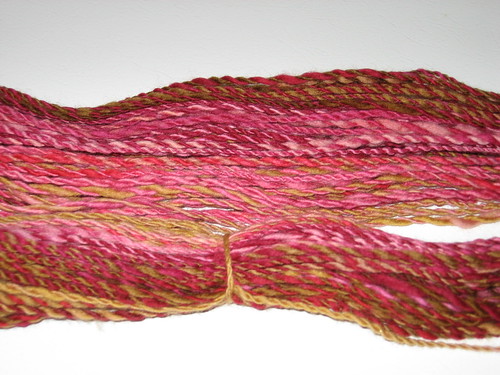
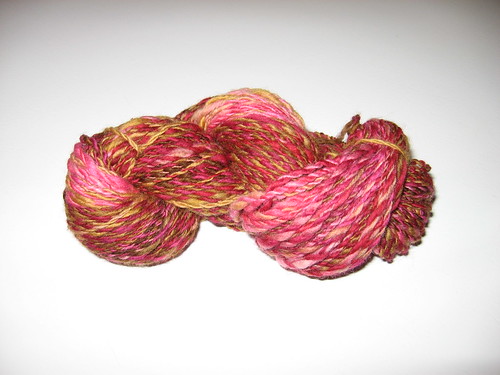
2 ply yarn ready for knitting, or just to admire in your stash!
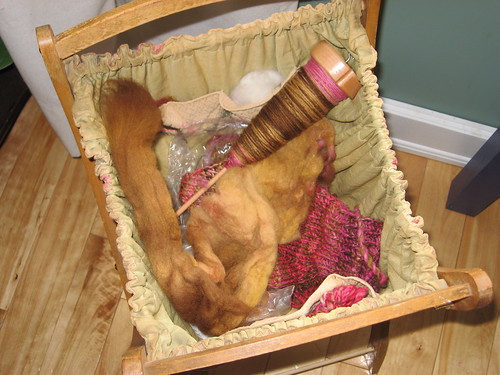
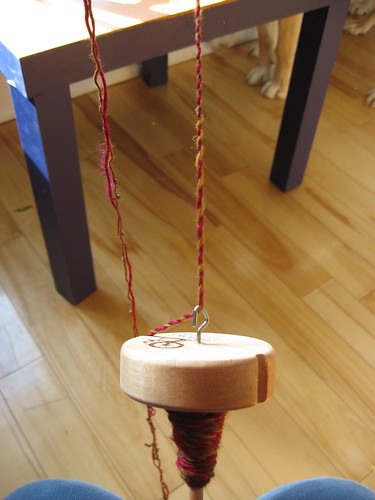
This is combed Polworth wool. Spin until the spindle is full. In this picture I'd say the spindle is pretty full. I will not get into how to spin exactly because that is better learned by an experienced spinner and in person so they can show the techniques one on one. I will give one piece of advice: pre-draft! I was having a horrible time until I started pre-drafting the fiber so thin that I did not have to draft at all while spinning. This helped a lot, and now I can draft as I spin, but as a beginner it made all the difference.
I made this spindle holder out of a simple tissue box.

Labels: Spinning
posted by Tanya @ 10:30 p.m.
![]()
![]()


6 Comments:
Awesome tutorial, good job! And beautiful yarn, love the colors!
I love your wonderful little tutorial. You actually got me planning to drop spindle again. Wonder if I still remember how?
Your spinning looks awesome! Mine...not so much, lol. I think I've wound too much on the spindle...I'll have to take it off I think. I don't have a ball winder, so not sure how I can ply it from both ends. I'm going to have to do better pre-drafting because I find that I'm getting a big ol' callous on my index finger from holding the yarn as I pull with my other hand (weird). I do draft, but as I'm spinning, I do need to do more of it. I'll try with a thinner pre-draft and see how that works.
Thanks for the tutorial!
Awesome job Tanya,
You are a very creative and talented person.
Ann
I loved the tutorial too; very precise, ordered, systematic... Are you in informatics by any chance (just kidding)?
When is the spinning wheel tutorial?
Manon
GASP - a wheel!!! Tanya you are officially hooked! I'm a little behind on my blog reading so just catching up on the latest happenings - looks like fun!
Post a Comment
<< Home